Time Traveler for WHS V1 has reached end-of-life

It’s been a great run! Unfortunately with the end-of-life of Microsoft Home Server OS (and certainly WHS V1), there’s very little interest in WHS V1 software add-in’s these days. Thanks for your support.

Note, you will no longer be able to register the Time Traveler add-in since our authentication servers are no longer active. If you need to re-install Time Traveler then please follow these sets to create a local registration file on your WHS V1 server so you can install the Time Traveler add-in.

  • make sure you uninstall TimeTraveler add-in from your WHS V1 system
  • download FreeRegisterTimeTraveler.exe to your WHS V1 desktop (https://electrongoo.com/support/timetravelerwhs/FreeRegisterTimeTraveler.exe)
  • run (i.e. double-click) FreeRegisterTimeTraveler.exe
  • a folder named TimeTraveler will be created on your desktop containing a file named settings.xml
  • copy the file settings.xml to your “C:\Documents and Settings\Default User\Application Data\TimeTraveler” folder
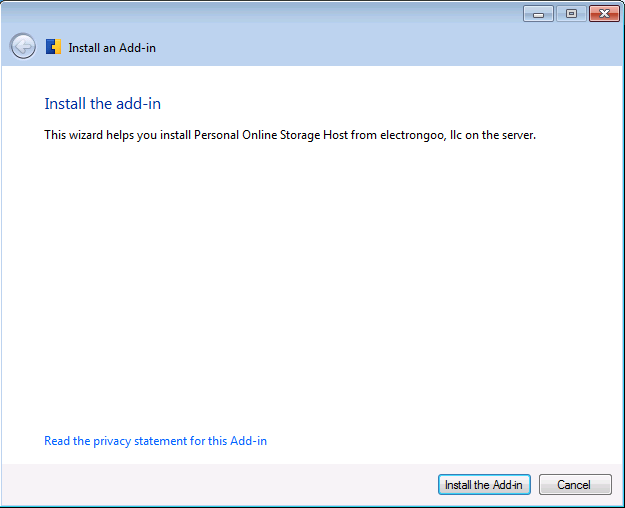
  • install your existing version of TimeTraveler add-in … you should not be prompted for a registration
  • you can delete the temporary folder “TimeTraveler” from your Desktop

First-time configuration of Personal Storage Host

On first launch, the Personal Storage Host software will guide you though the process of configuring your server.  The screen-shots in this article were taken on WHS 2011 but the process is identical on all versions of the software.

  1. Launch Personal Storage Host, either from the Server Dashboard or from the Windows Start menu.  You will be prompted to register the software.  If you’ve already purchased the software then enter the email address and order ID found in your email order confirmation and press the Register button.  If you are trialing the software or using the complimentary three user-seat software then press the Exit button to dismiss the registration dialog.  Note, you can activate the software, or add new user-seats, at any time by select the “activate order id” from the main Status window1-activate
  2. Next, you will be given the opportunity to automatically configure the web service used by the storage host.  Typically, you will see four green check-marks meaning your server is ready for the one-click automated configuration process.  Click the Auto Configure button to begin2-firstrun
  3. If you see any red X’s then you’ll need to either resolve the issue before proceeding or you can close the dialog and manually configure the web service as described in appendix A of the users manual.  Here are some tips on resolving errors marked with a red ex:
    1. IIS Service active – from the Windows Start menu, type “iis” in the search box to run the IIS Manager.  In the Actions pane in the upper-right select Server Manager | Start
    2. Installed version – there should never be a error noted here.  This is simply helpful information letting you know which version of the web service you currently have installed if you’re upgrading the Personal Storage Host software
    3. Latest version – there should never be a error noted here.  This is simply helpful information letting you know which version of the web service you are installing right now
    4. Automation components – the Microsoft.Web.Administration .NET components must be installed for the automated configuration to proceed.  These are typically installed as part of the base operating system so this should rarely occur.  But, if you uninstalled these components from your system then you will need to configure the web service manually as described in appendix A of the users manual
  4. The last step is to configure your server name.4-activate
    1. Host id – this is a unique id always created for you by the software
    2. Host domain – this is the domain name of your server.  If you have a static IP address then this could be an address such as 255.255.255.255 but typically it will be a friendly name which you registered with your ISP (e.g. me.mydomain.com) or with Microsoft (e.g. mywhs.homeserver.com) to identify your server on the internet.  You can press the Verify button to open a browser to verify the web service is correctly setup at the host domain name you specified
    3. Host name – this is any friendly name you choose to identify your server (e.g. my home server)
    4. Storage path – this is the base path where all incoming files will be stored on your server.  You can use any path but typically use a path outside of your common server shares on a storage device with a large amount of free space
  5. Press the Continue button to complete the first-time configuration process
  6. The Personal Storage Host viewer utility will automatically be displayed where you can start creating new archive and file-synchronization users to access to your server from anywhere on the internet5-ready


Installing Personal Online Storage Host on Windows Server or Windows Client


  1. Download the PersonalStorageHostForWindows.msi installation package from our eStore or website
  2. Launch the msi file and follow the installation wizard
  3. The Personal Online Storage Host viewer utility will automatically launch after installation is complete

Note: The Personal Online Storage Host supports a stand-alone client which runs on most versions of Windows server and Windows PC.  If you are installing Personal Online Storage Host on WHS/SBS 2011 or Server 2012 Essentials and want direct integration with the Server Dashboard then go to this article


Installing Personal Online Storage Host on WHS/SBS 2011 and Server 2012 Essentials

The Personal Online Storage Host software for WHS/SBS 2011 and Server 2012 is delivered as a wssx installation package and installed as any common wssx install package.

  1. Download the personalonlinestoragehost.wssx file from our eStore or website.  There is a fully-featured complimentary version available to try before you buy
  2. Double-click on the personalonlinestoragehost.wssx file to launch the installation process.  You can launch the wssx file directly on your server or on any client PC which has the server extensions installed on it
  3. The wssx package will be validated and you will be prompted to begin the installation processverify
  4. Installation typically takes less than one minuteinstalling
  5. You will be notified once installation is complete. complete
  6. Press the Close button and then launch your Server Dashboard.  You will see the Personal Storage Host icon located at the top of the main toolbar5-ready


How to setup Time Traveler for the first time

  1. Run the WHS Console and select the Time Traveler tab
  2. Enter your email address and order number. You can find this information in your email purchase order confirmation.    Alternately, you can select Trial Mode and use the full features of the software; the trial version is only limited in that it allows up to 25 roll-back points
  3. Click the Setup button to run the one-time database initialization. We recommend that you store the Time Traveler database file on a hard drive other than the hard drive where your WHS Storage is located.  Check your Server Storage tab, located on the WHS Console, to view your storage allocations.  You should consider purchasing a new hard drive for the database; although this is not a requirement.  If you cancel this step then the software will not be usable until you restart the WHS Console and complete the setup wizard

How to Install Time Traveler

How to Install Time Traveler

  1. Download the TimeTravlerWHS.msi installation file
  2. Copy the TimeTravelerWHS.msi installation file to the Software\Add-Ins folder on your Windows Home Server (WHS)
  3. Run the WHS Console | Select Settings | Select Add-ins | Select Available | Press Install
  4. Note TimeTravelerWHS requires WHS Power Pack 2 or later. If you do not currently have Power Pack 2 installed then download the pack from Microsoft. From the WHS Console Settings page,  select General | Press Update Now…
  5. The WHS Console will close
  6. Re-start the WHS Console and  select the Time Traveler tab
  7. Enter your email address and order ID from your purchase.  Alternately, you can use the software in trial mode which will limit the total rollback-points to a  maximum of 25.  Trial users can click the ‘Send feedback on trial version’ link to email any questions, issues, or concerns they have about the software. We want to hear from you!
  8. Select the hard drive you want to use to store your rollbak database and press the Setup button.  It is recommended for best performance to use a different physical hard drive than you are using for your Windows Home Server storage pool (you can view the Server Storage tab on your WHS Console to see how your hard drives are allocated.  If you add a new hard drive to your WHS at a later date and wish to move the rollback database then please see our FAQ for steps on purging and moving the database).
  9. That’s all!  Time Traveler is now setup and ready for use.  You can review the step-by-step guide for more details on using the software.

.

How to use additional Time Traveler settings

To locate the settings dialog, select the “More” link in the lower right corner of the main screen.  You can update the following settings:

  1. Check for Updates: this will check the internet to verify if    there is a newer version of Time Traveler that you can download.    If a new download is available then you will be given a link to  download the latest version.
  2. Gather Diagnostic Logs: copy diagnostic logs to your  “\\server\public” share if requested by a Time Traveler WHS    support personnel
  3. Enable Diagnostic logs: enable or disable diagnostic logs if  requested by a Time Traveler WHS support personnel
  4. Verify Database: verify the integrity of your rollback  database.  Automatically fix any errors
  5. Reset All Settings and Database: erase your rollback  database.  This will erase all history.  You can reclaim space and    start over. Close your WHS Console and re-start it to rebuild a new rollback database