On first launch, the Personal Storage Host software will guide you though the process of configuring your server. The screen-shots in this article were taken on WHS 2011 but the process is identical on all versions of the software.
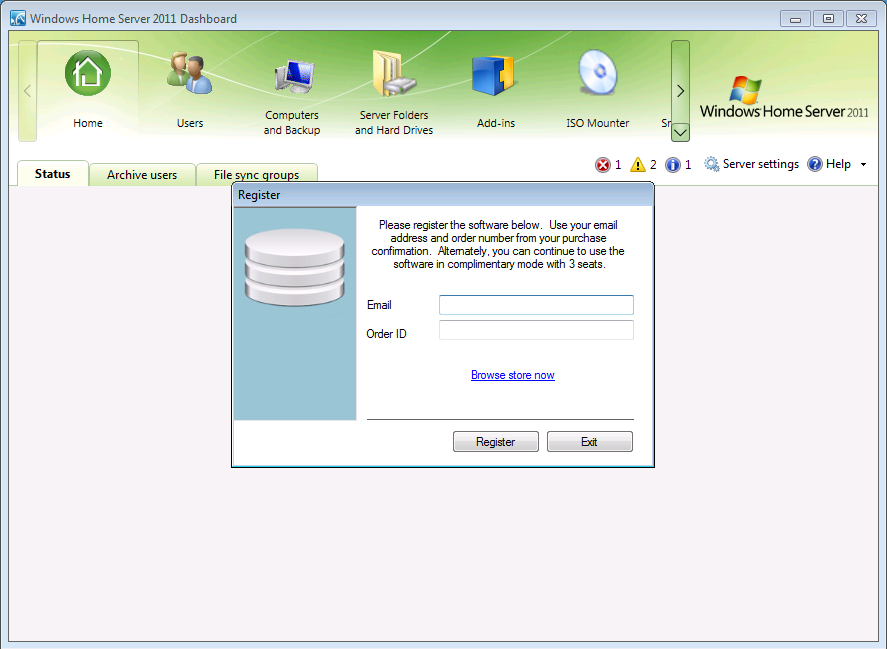
- Launch Personal Storage Host, either from the Server Dashboard or from the Windows Start menu. You will be prompted to register the software. If you’ve already purchased the software then enter the email address and order ID found in your email order confirmation and press the Register button. If you are trialing the software or using the complimentary three user-seat software then press the Exit button to dismiss the registration dialog. Note, you can activate the software, or add new user-seats, at any time by select the “activate order id” from the main Status window

- Next, you will be given the opportunity to automatically configure the web service used by the storage host. Typically, you will see four green check-marks meaning your server is ready for the one-click automated configuration process. Click the Auto Configure button to begin
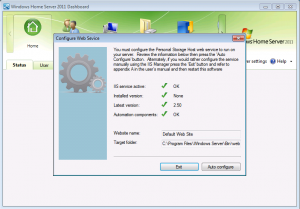
- If you see any red X’s then you’ll need to either resolve the issue before proceeding or you can close the dialog and manually configure the web service as described in appendix A of the users manual. Here are some tips on resolving errors marked with a red ex:
- IIS Service active – from the Windows Start menu, type “iis” in the search box to run the IIS Manager. In the Actions pane in the upper-right select Server Manager | Start
- Installed version – there should never be a error noted here. This is simply helpful information letting you know which version of the web service you currently have installed if you’re upgrading the Personal Storage Host software
- Latest version – there should never be a error noted here. This is simply helpful information letting you know which version of the web service you are installing right now
- Automation components – the Microsoft.Web.Administration .NET components must be installed for the automated configuration to proceed. These are typically installed as part of the base operating system so this should rarely occur. But, if you uninstalled these components from your system then you will need to configure the web service manually as described in appendix A of the users manual
- The last step is to configure your server name.
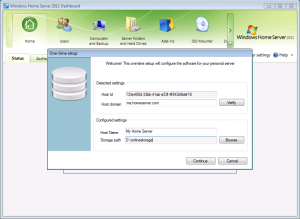
- Host id – this is a unique id always created for you by the software
- Host domain – this is the domain name of your server. If you have a static IP address then this could be an address such as 255.255.255.255 but typically it will be a friendly name which you registered with your ISP (e.g. me.mydomain.com) or with Microsoft (e.g. mywhs.homeserver.com) to identify your server on the internet. You can press the Verify button to open a browser to verify the web service is correctly setup at the host domain name you specified
- Host name – this is any friendly name you choose to identify your server (e.g. my home server)
- Storage path – this is the base path where all incoming files will be stored on your server. You can use any path but typically use a path outside of your common server shares on a storage device with a large amount of free space
- Press the Continue button to complete the first-time configuration process
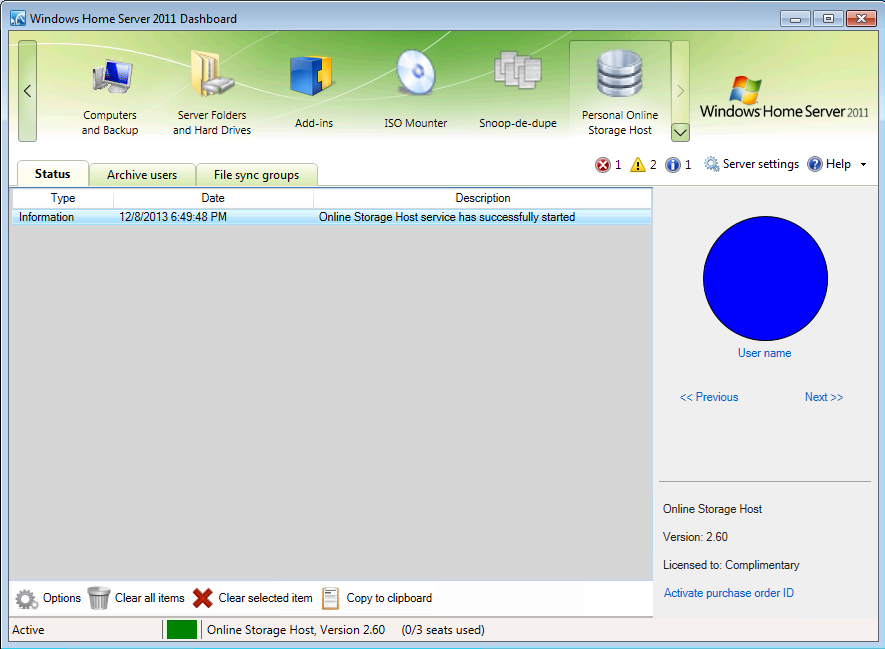
- The Personal Storage Host viewer utility will automatically be displayed where you can start creating new archive and file-synchronization users to access to your server from anywhere on the internet